|
<< Click to Display Table of Contents >> Navigation: 5. Detailed description of the Actions > 5.23. Cloud services > 5.23.29. SharePoint Upload (High-Speed
|
Icon: 
![]()
Function: SharepointUpload
Property window:

Short description:
Upload data to Microsoft SharePoint.
Long Description:
This Action also works when accessing the web through a PROXY server: Please consult the section 5.1.9.2. for more details on how to setup the parameter P3 for web-access through a PROXY server.
To use this Action, you’ll first need to get 2 parameters from the Azure Website: i.e. You need to obtain your “Application ID” (parameter P1) and your “Anatella Secret Token” (parameter P2) from the Azure Website. Please see the section 5.23.27. for more details on how get these 2 parameters.
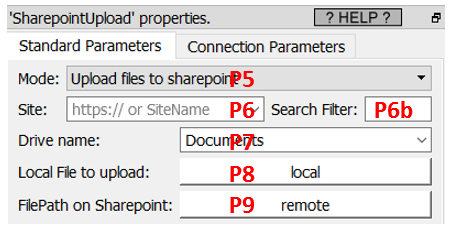
Once you have completed the “setup process” described in the section 5.23.27., you can use the parameters P5 to P12 to upload data to your Microsoft SharePoint system.
Please refer to the explanations from the previous section 5.23.28 to initialize properly the parameter P6. (i.e. the parameter P6 can be the “Site Display name” or the “Sharepoint Site URL”).
The parameter P5 is the mode. It can be:
•Upload files on the sharepoint server
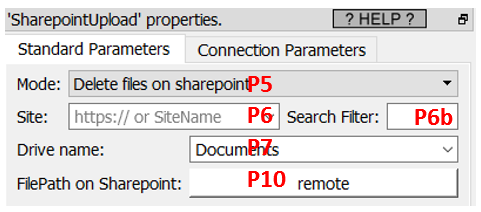
•Delete files on the sharepoint server
•Manage Lists on the sharepoint server
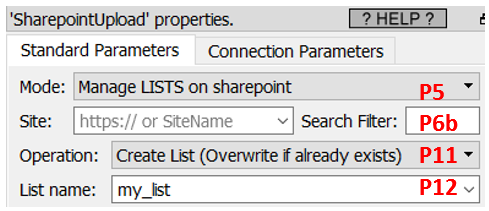
The first two modes (that are selected using the parameter P5) are self-explanatory (to upload/delete files on the Sharepoint server). The last mode (to manage “Lists”) is slghtly more complex to operate and is described in the rest of this section.
The parameter P10 defines the operation to perform on the selected sharepoint “LIST” (parameter P11): The available options are:
•Create List (Overwrite if already exists)
•Append to list
•Delete list
•Delete list and Append
•Update list
All these operating modes (with the exception of the “Delete list” operating mode) are expecting a table in input. This input table will be injected inside the given “List” inside the given Sharepoint site in Azure. Ideally, this input table should have a column named “Title” because Sharepoint is imposing that all Lists have a “Title” column. We are suggesting you to have a “Title” column in the table in input but you can also decide to ignore our recommendation: In this case, SharePoint will automatically add an empty “Title” column inside your list. Hopefully, you can easily hide this empty “Title” column in this way:
1.Open this URL: https://www.office.com, login into your Office account.
2.Select “Sharepoint”:
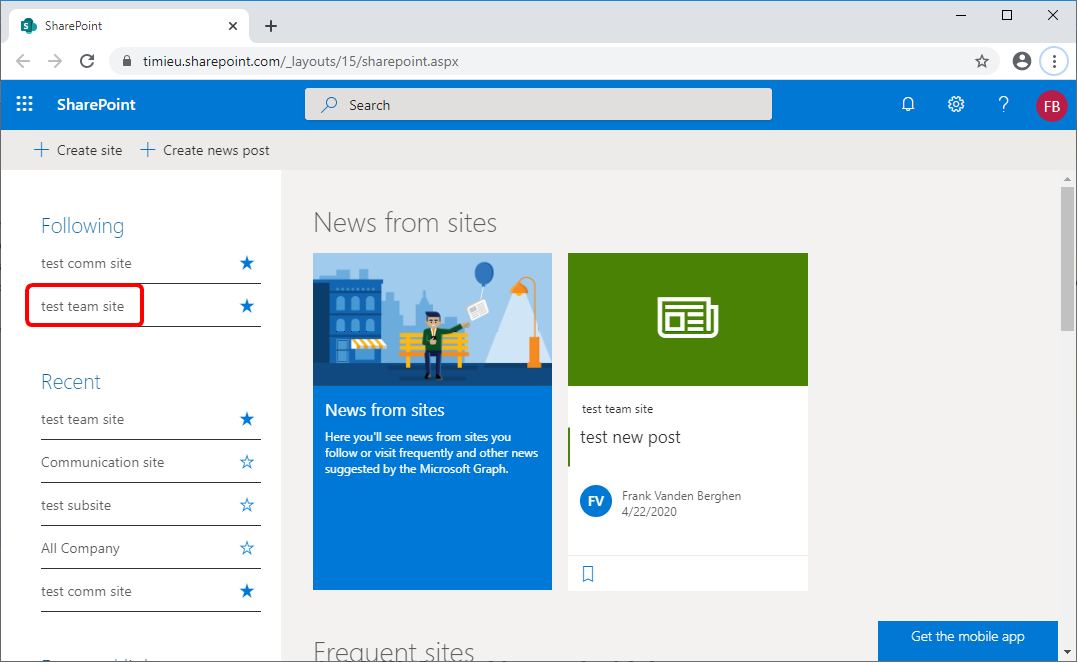
3.Navigate to the site and to the list to edit:
3.1. Select a site: Click here:
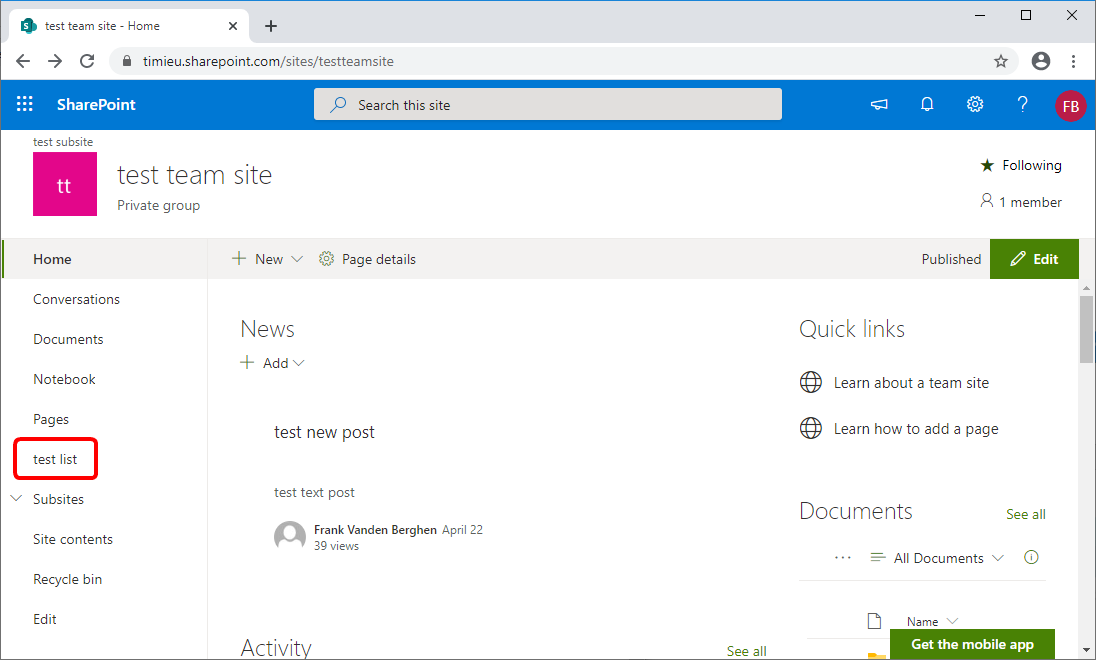
3.2. Select a list to edit inside your site: Click here:
4.Click the ![]() icon next to the header of the column “Title”: This opens a contextual menu: Navigate to the “Show/hide columns” Option:
icon next to the header of the column “Title”: This opens a contextual menu: Navigate to the “Show/hide columns” Option:
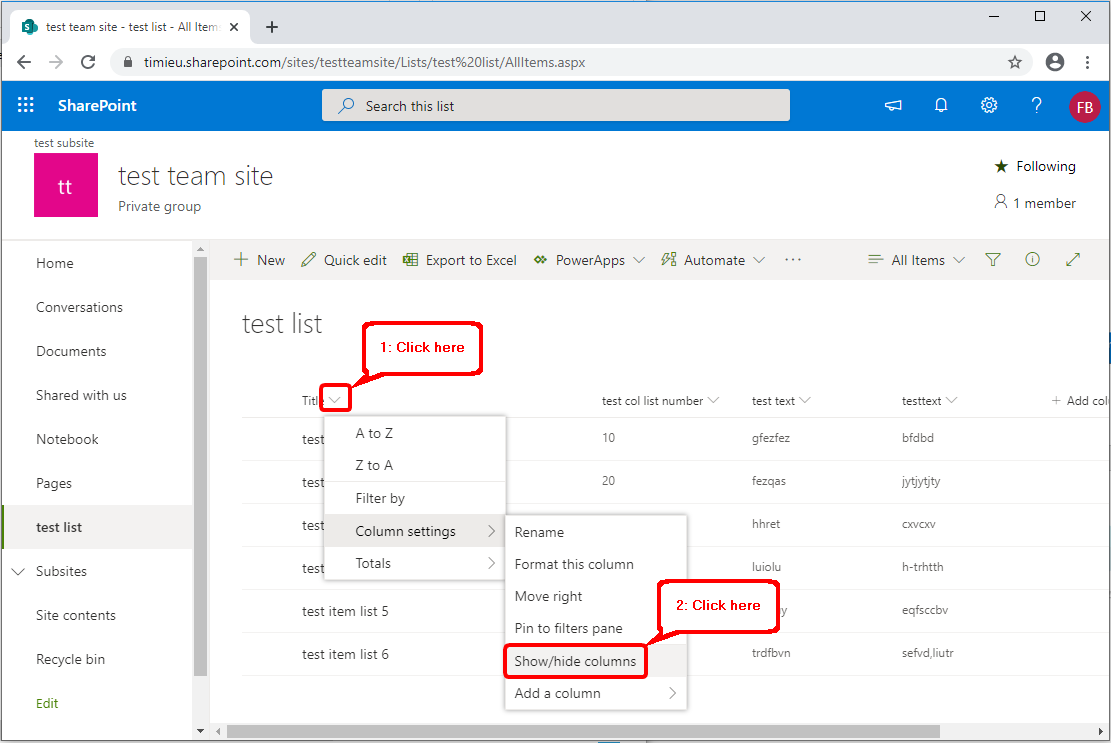
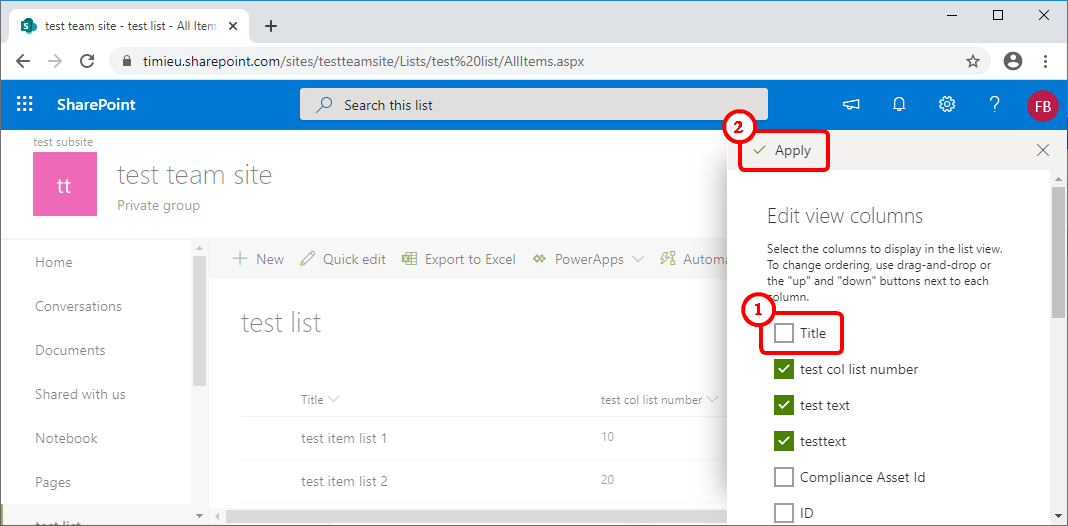
5.Unchek the checkbox near “Title” ![]() and click the “Apply” button:
and click the “Apply” button: ![]()