The official link to download the Redshift ODBC drivers is here:
For your convenience, a copy of the ODBC drivers is here:
http://download.timi.eu/ODBC/ODBC_drivers_Redshift/
The Redshift ODBC driver can execute “Select” SQL statement but not “Insert” or “update” statements. If you need to “insert” rows inside a RedShift database, you should use the special Action named “RedShift Bulk Upload” described in section 5.24.2.
By default, you can only access a Redshift database from a limited set of machines hosted inside the AWS network. You will need to manually configure Redshift to be able to access it from a machine located outside AWS. This manual configuration is in two steps:
1.Make Redshift Publicly accessible:
1.1. Open the Amazon console: https://console.aws.amazon.com and login into AWS.
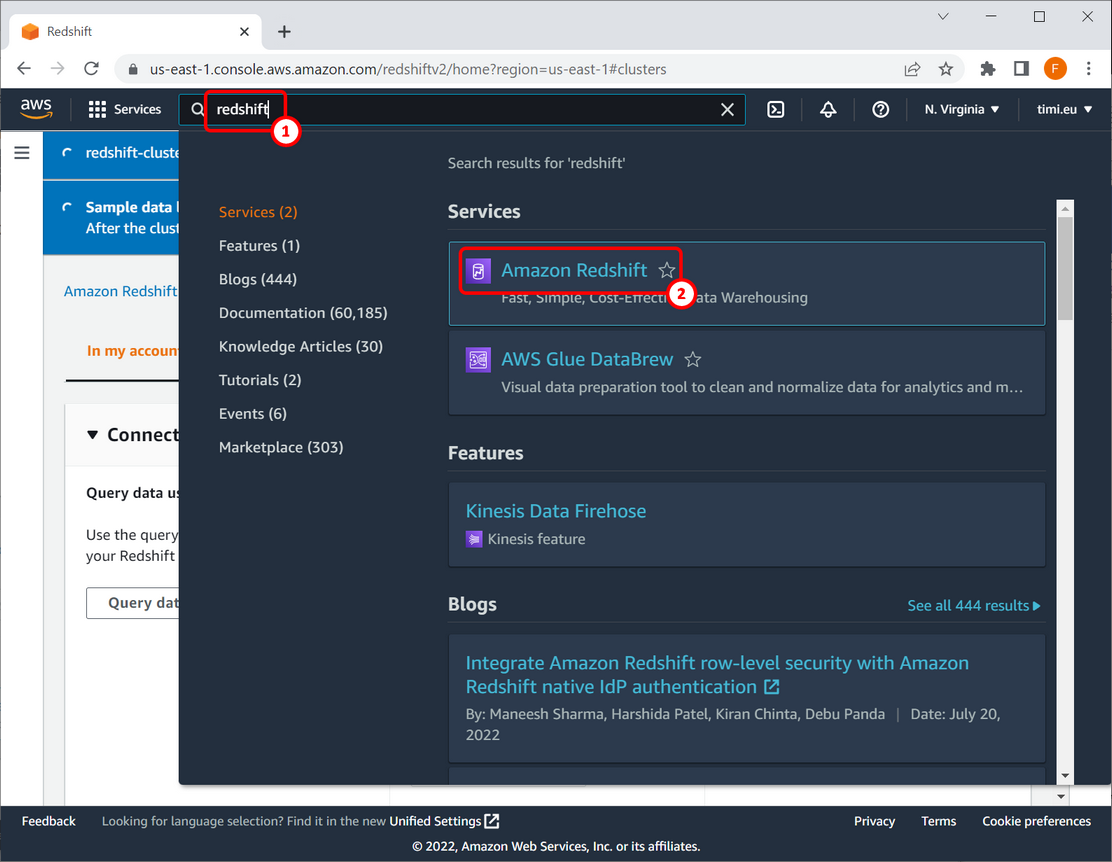
1.2. Type “redshift” inside the search bar ![]() and click on “Redshift” in the results
and click on “Redshift” in the results ![]() :
:
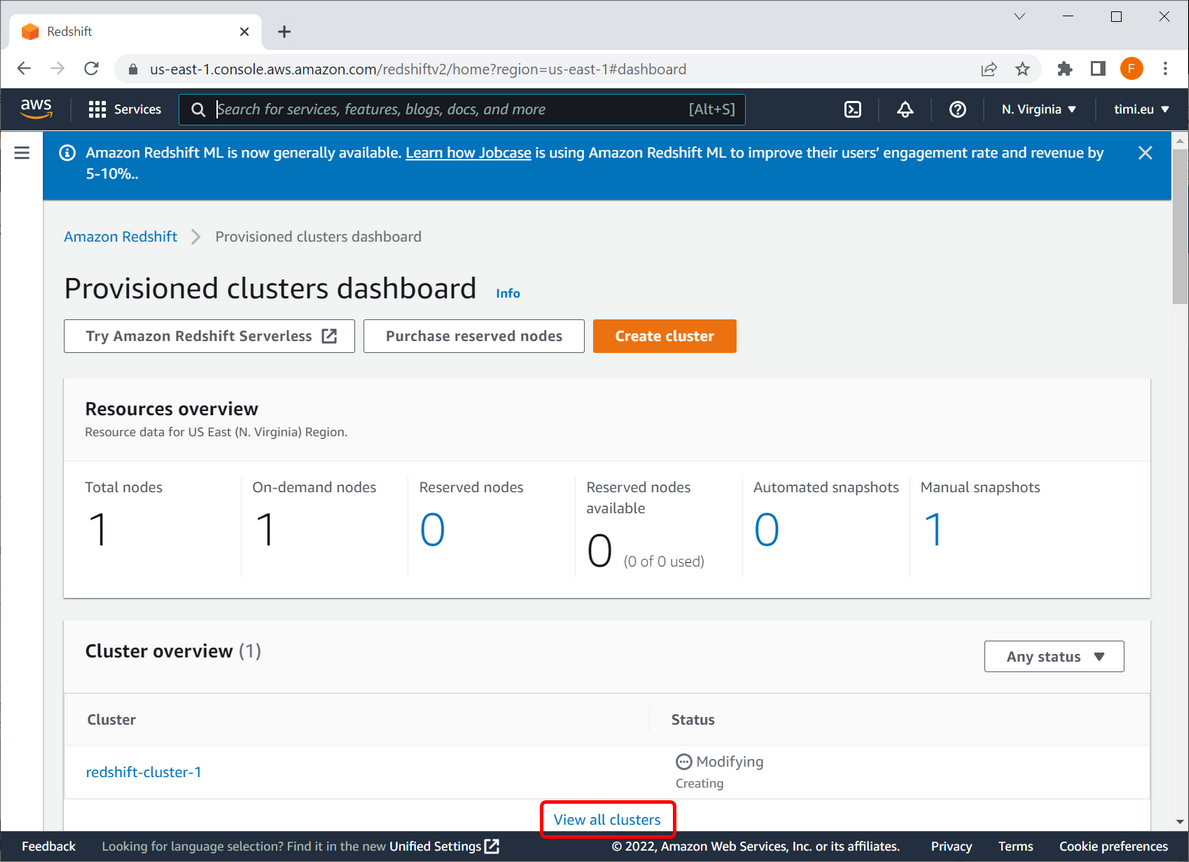
1.3.Click on “View all Clusters”:
1.4.Check the “checkbox” in front of the redshift instance that you want to access with Anatella ![]() , then click on the “Actions” button
, then click on the “Actions” button ![]() , then click on the “Modify publicly accessible setting” option
, then click on the “Modify publicly accessible setting” option ![]() . In the screenshot below this option is grayed-out. This is because the creation of the redshift-cluster is not complete.
. In the screenshot below this option is grayed-out. This is because the creation of the redshift-cluster is not complete.

1.5.Wait until your redshift-cluster is with the “available” status. This can take up to half an hour. When the status of your redshift-cluster is marked as “available”, you should be able to see the “Actions” menu that is not grayed-out. If that’s not the case (i.e. the “Actions” menu is still grayed out), you just need to wait a little bit more (up to half an hour! Regularly press F5 to refresh the page). Inside the “Actions” menu, select the “Modify publicly accessible setting” option.

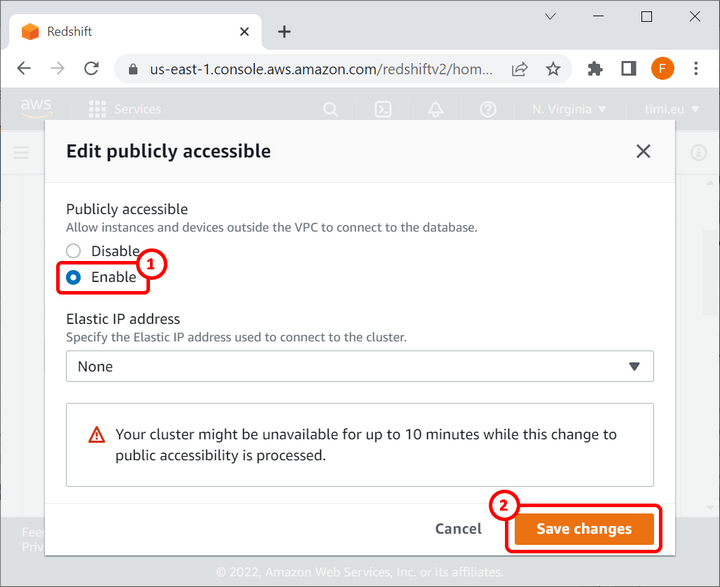
1.6.Select “Enable” ![]() and click on the “Save Changes” button at the bottom
and click on the “Save Changes” button at the bottom ![]() :
:
1.7.You should now see the “Global dashboard” related to your Redshift instance.
2.Open the firewall to access Redshift
2.1.Open the “Global dashboard” related to your Redshift instance (this should already be visible if you followed the previous steps) and click on the “Properties” tab:

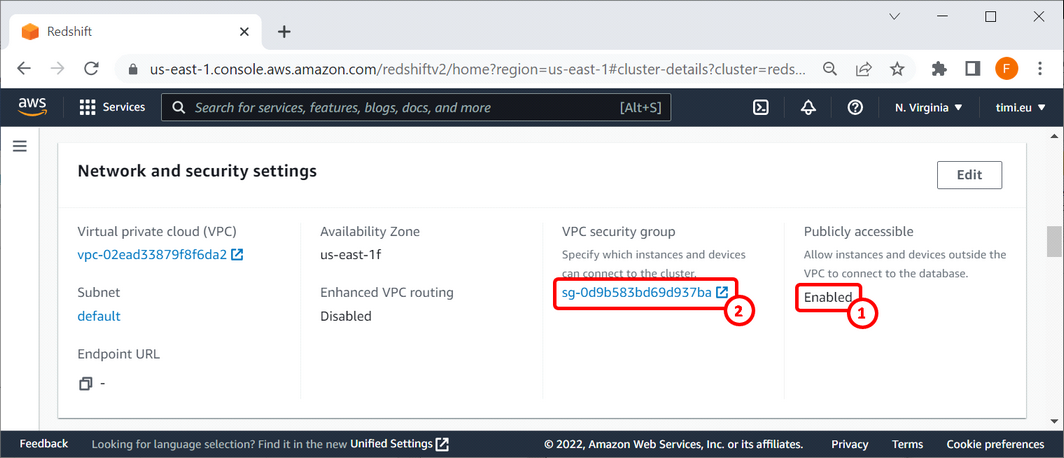
2.2.Scroll down to the “Network and security settings” section. Here, you should see that your Redshift is “Publicly accessible” (if that’s not the case, wait a little and refresh the webpage – press F5) : Check here: ![]()
Click on the link inside the “VPC security group” ![]() :
:
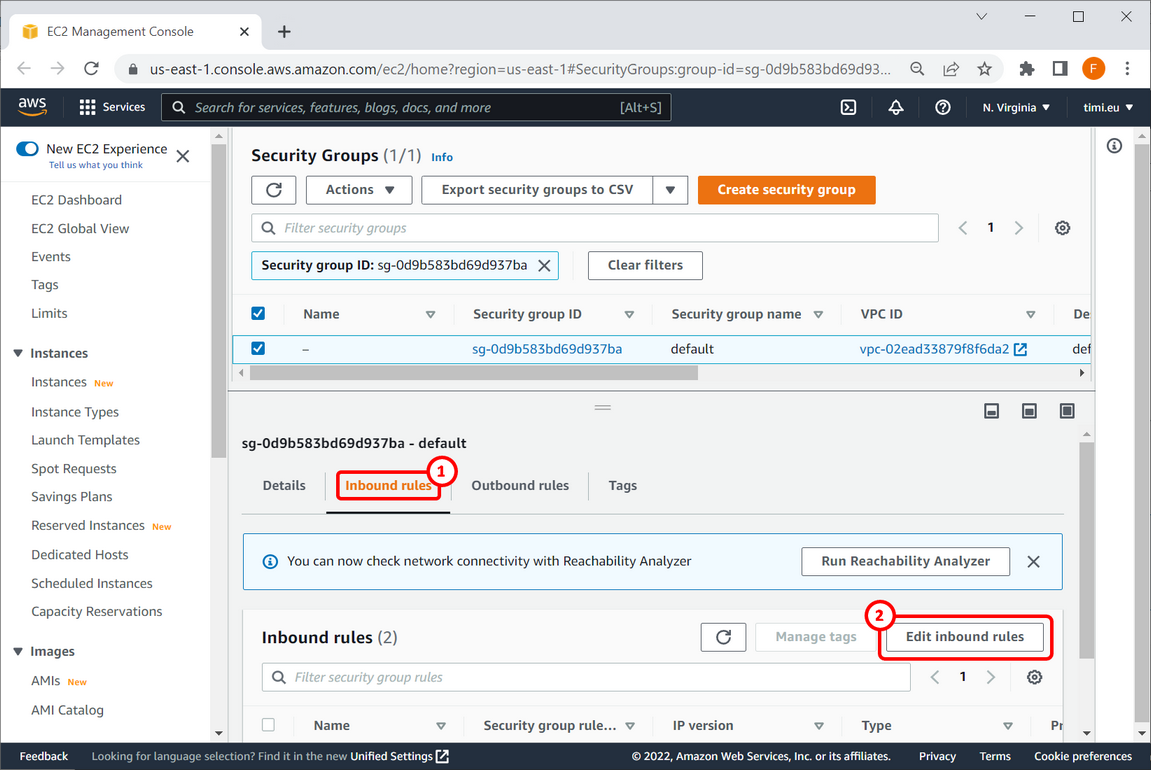
2.3.Click on the “Inbound Rules” panel ![]() and click on the “Edit Inbound Rules” button
and click on the “Edit Inbound Rules” button ![]() :
:
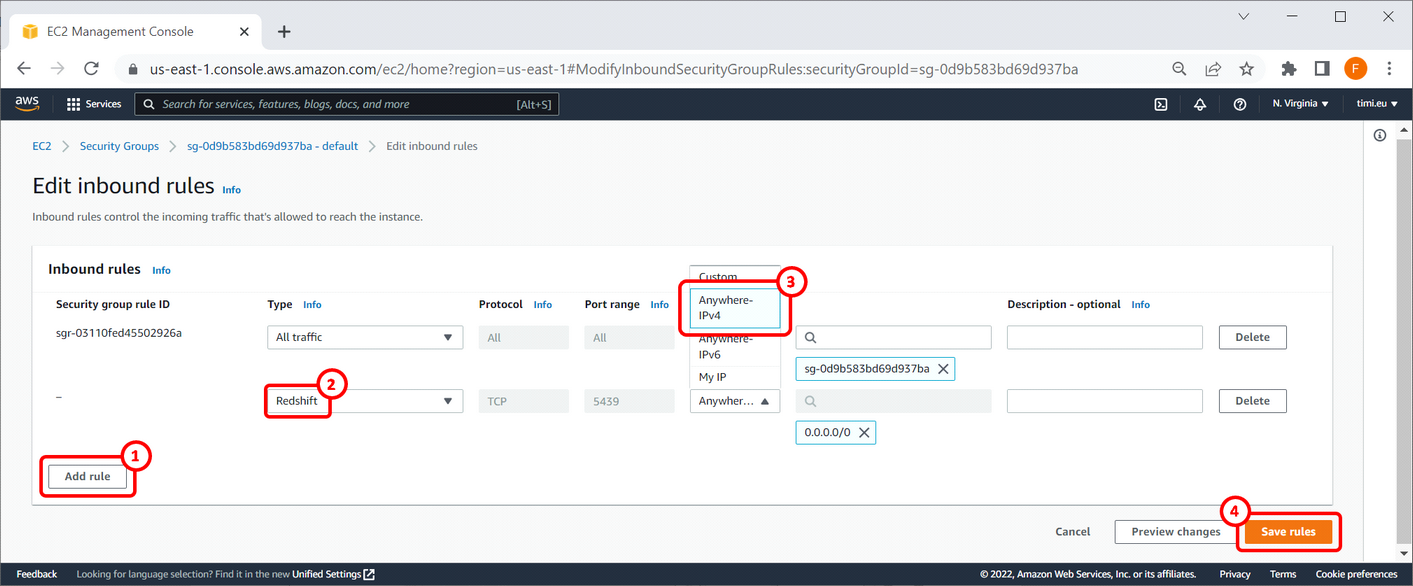
2.4.Click on the “Add Rule” button ![]() : For the “Type” field, select “Redshift”
: For the “Type” field, select “Redshift” ![]() and for the “Source” Field, select “Anywhere-IPv4”
and for the “Source” Field, select “Anywhere-IPv4” ![]() . Click the “Save Rules” button at the bottom
. Click the “Save Rules” button at the bottom ![]() .
.
2.5.You can now connect to Redshift wih Anatella from any machine.