To select which points are displayed, please refer to the section 5.3.2.1.
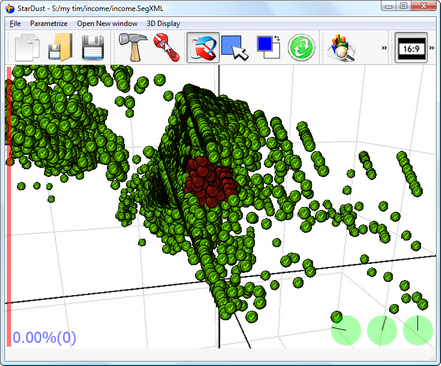
Let’s now have a look at the main 3D view of StarDust. Deselect everything. The 3D display should now look like this (if it’s not the case, please verify that the ![]() button on the Toolbar is OFF):
button on the Toolbar is OFF):
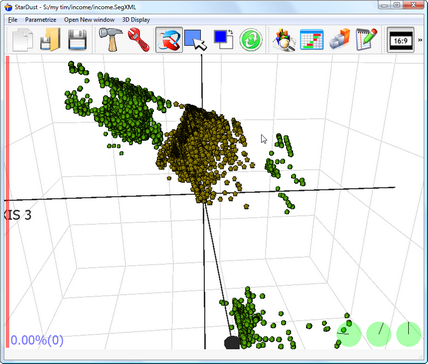
All the individuals inside the “CentralCloud” group are now represented with “yellow stars”.
Let’s create another group based on mouse selection. We will call this new group “Core”. Here is an illustration:
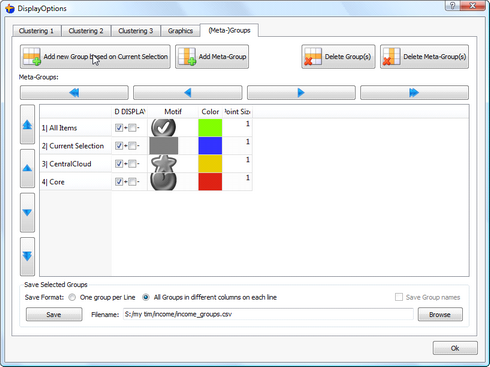
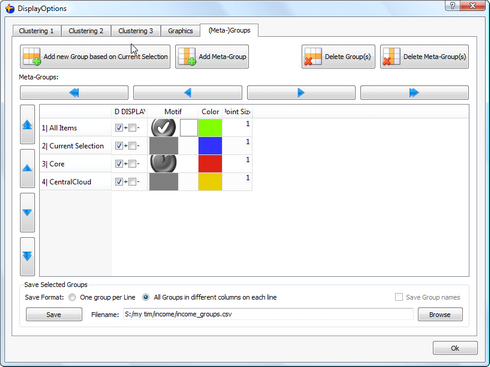
When the same individual belongs to several groups, the colour and the motif of the individual is defined by the setting of the group that is situated inside the lowest part of the table.
In the example above, the “Core” group is placed on a row that is below the “CentralCloud” row. The “Core” group has thus a higher priority than the “CentralCloud” group. The look of the individuals that belongs to both groups (“CentralCloud” and “Core”) will only be defined by the settings of the “Core” group.
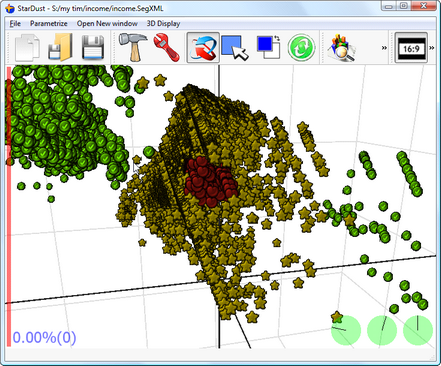
Let’s exchange the rows “CentralCloud” and “Core”! Select the “core” group and click on the button.![]() Replace the “star motif”
Replace the “star motif” ![]() with the “null motif”
with the “null motif” ![]() . We obtain:
. We obtain:

Since the “CentralCloud” Group is now lower than the “Core” group, it has the priority and thus all the points are now in yellow. However, we did select the the “null motif” ![]() for the “CentralCloud” Group. It means that the “CentralCloud” Group has NO influence on the motif of the points. The motif is thus decided based on the membership or not to the “Core” group. Indeed, you can see that some points have a “heart motif”
for the “CentralCloud” Group. It means that the “CentralCloud” Group has NO influence on the motif of the points. The motif is thus decided based on the membership or not to the “Core” group. Indeed, you can see that some points have a “heart motif” ![]() .
.
You can also completely “de-activate” a group by disabling the “+” checkbox of the group inside the column “3D Display” (actually, 99% of the time, this is the “3D Display” column that you have to manipulate but on some rare occasions, you can use another column: see section 5.3.2.1. for more information).
The groups that have a disabled “+” checkbox have no influences at all on the display. For example, this is exactly “as if” the “CentralCloud” group does not exist: