Usually, predictive models for binary target are used for applications like customer acquisition, cross-selling, up-selling, churn prevention, etc.
The predictive model that we built in section 7 of this document is typically used for fraud prevention. Using this model, we want to detect people that cheated when they answered to the question “Do you earn more than $50K per year?” on their IRS form. The taxation is higher for people that earn more than 50.000 dollars per year and thus people are always tempted to cheat and say: “I earn less than 50.000 dollars per year”.
Using our predictive model, we can compute the probability to be inside the target (i.e. “to earn more than 50.000 dollars per year”) for all the persons in a given dataset. The persons that are not inside the target (i.e. the persons that said: “I earn less than 50.000 dollars per year”) and for which the predictive model still says that they have a very high probability to be inside the target (i.e. “to earn more than 50.000 dollars per year”) are suspicious (Don’t worry! This will be re-explained in more detail on an example later).
Let us apply the model on a dataset and find out the persons that are suspicious!
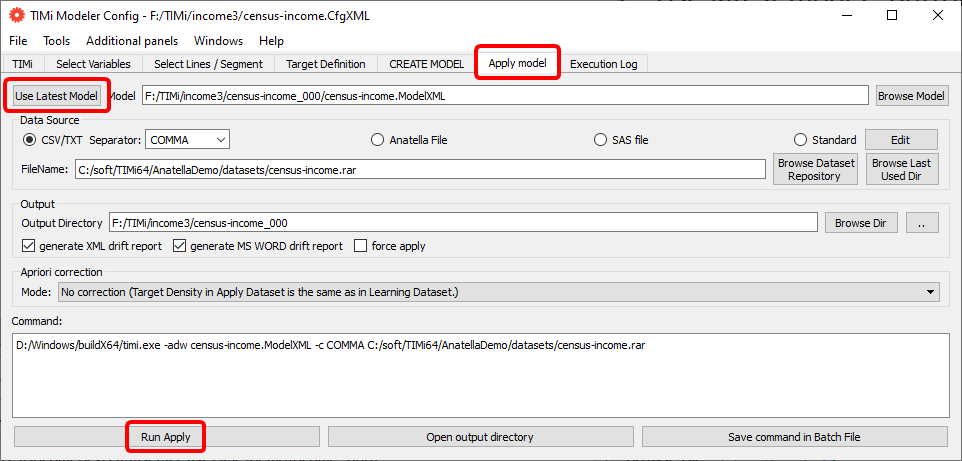
Re-open the “Config File editor”, go to the “Apply Model” panel, click the “Use latest model” button and click the “Run Apply” button: See the illustration below:
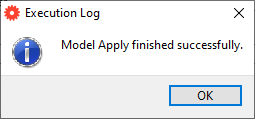
After a short time, you should see:
By default, the predictive model will be applied on the same dataset that was used to create the model (here: “census-income.rar”). Most of the time, you will have to change this default settings to apply your model on the latest version of your customer database. The datasets on which we apply our models are commonly named the “apply datasets” or “scoring datasets”. Click the “Browse Dataset Repository” button to change it.
|
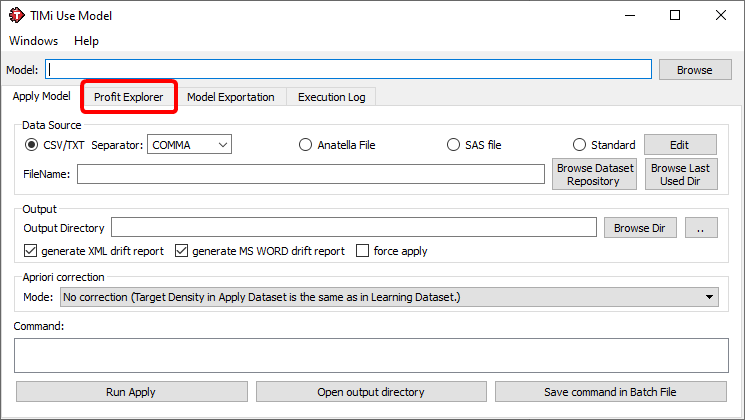
If you only have the predictive model file (the “.ModelXML” file), you can still apply directly your predictive model using the “Use Model” window.
There are two ways to open the “Use Model” window
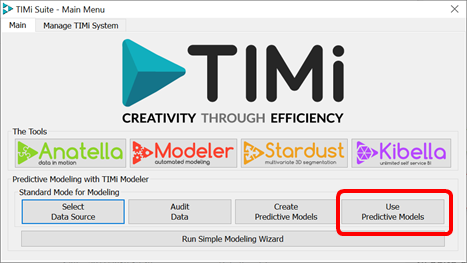
1. Click the “Use Predictive Models” button inside the TIMi main menu:
This window should open:
|
After “applying” your model on your (scoring) dataset, there are now five more files inside the output directory “demoIncome_000”:
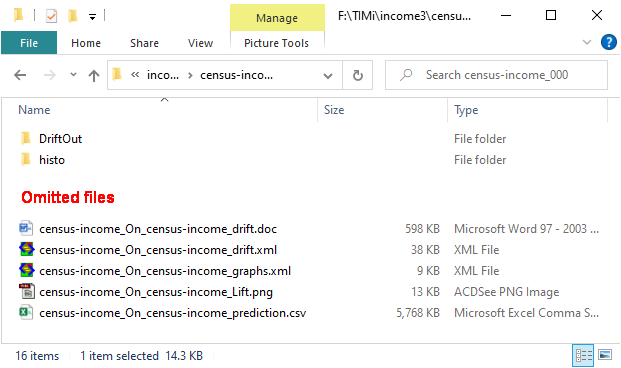
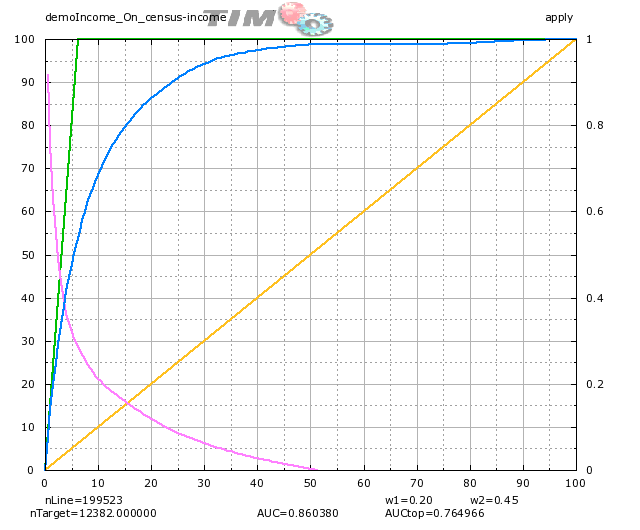
The “demoIncome_appliedOn_census-income_lift_apply.png” file is a graphics of the lift that represents the performance of the model on the specified dataset. Double-click the ‘.png’ file:
The “*_graph.xml” file can be deleted (it is an intermediate file to produce the “.png” file). Double click the “demoIncome_appliedOn_census-income_customerListApply.csv” file! (Microsoft Excel might complain that the file is too big but it doesn’t matter).
You should now see inside Microsoft Excel the following:
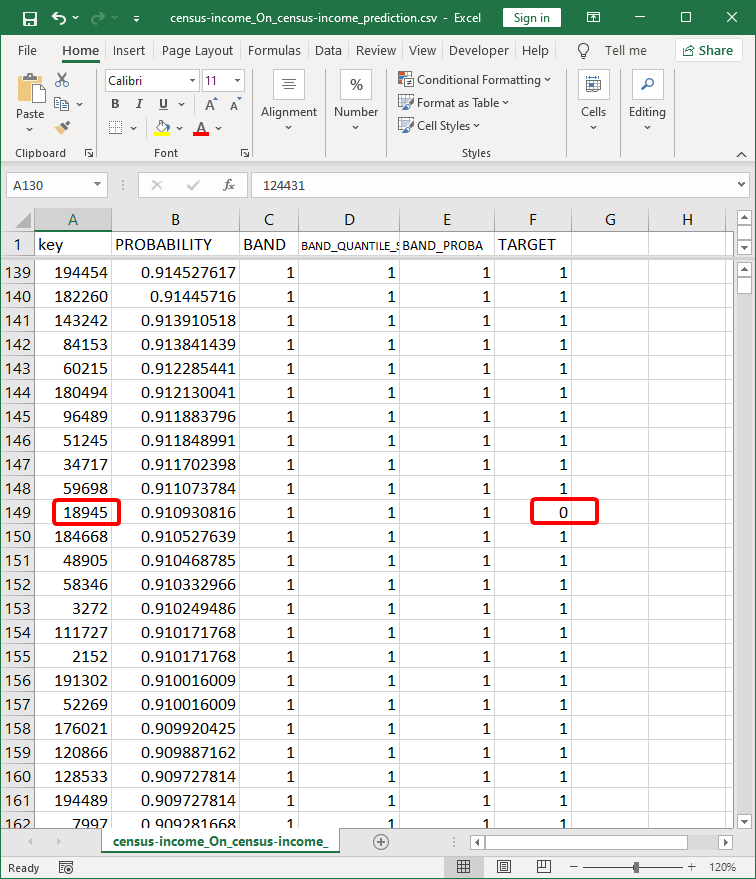
Each line of the Customer-List file represents a line of our “apply dataset”. Thus, in our case each line represents a person.
Look at the line 139: it means that the person with the primary key “194454” has 91.45% chances to be a target (i.e. has 91.45% chances to have an income level above $50K). You also see that the person “194454” was a target inside our dataset (i.e. the cell F139 is “1”).
The person with a primary key “18945” on line 149 is NOT marked as a target inside the “apply dataset” (see the cell F149). Strangely, the TIMi Modeler predictive model has estimated that this same person has a probability of 91.09% to be a target. This is very suspicious. My guess is that the person “18945” declared a low income (below $50K) to avoid paying heavy taxes. He is cheating.
