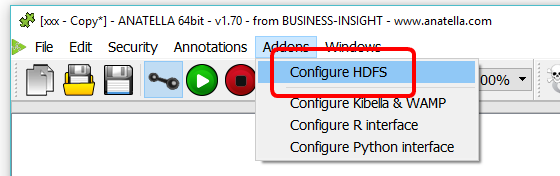
1. Open the HDFS configuration window: Click here:
2. Enter the TCP/IP address of the “Hadoop Name Node” here: ![]()
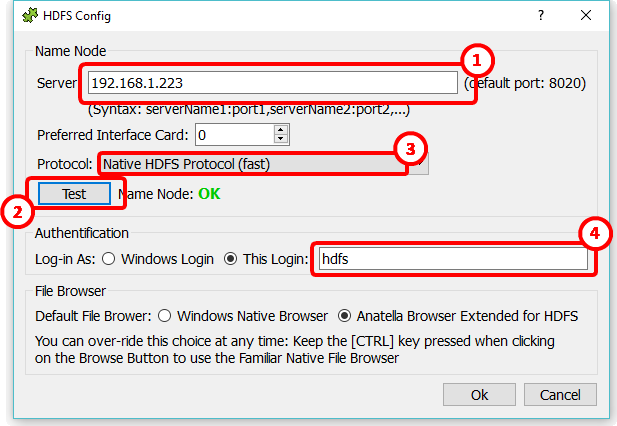
3. Click the “Test” Button: ![]() Anatella will try to access the Hadoop Name Node. If the test succeeds:
Anatella will try to access the Hadoop Name Node. If the test succeeds:
•You will see the message “Name Node: OK”.
•The “Preferred Interface Card” parameter will be reset to the index of the Interface Card (i.e. the Network Card) that allows to connect to the Name Node (this is only useful when you have several network cards inside the PC)
4. If you have many HDFS disconnections when reading large files from HDFS (This typically happens more often on Cloudera distribution of Hadoop: We are still investigating the issue. For the time being, the best Hadoop distributions to use with Anatella are “Apache” or “HortonWorks”), you might need to change the protocol: Switch to the “Web HDFS” protol here: ![]() (it’s about 3 to 5 times slower than the “Native HDFS” protocol but, at least, it always works).
(it’s about 3 to 5 times slower than the “Native HDFS” protocol but, at least, it always works).
5. Some directories inside the HDFS drive are only accessible to the users that have the correct login. You can decide here:![]() which login Anatella is using to connect to the HDFS drive (see also the next section about this subject).
which login Anatella is using to connect to the HDFS drive (see also the next section about this subject).
6. If you don’t want to use anymore the “Anatella Browser Extended for HDFS” (because you prefer the native Windows File Browser and you won’t be using HDFS anymore for some time), you can also change that inside this configuration window at any time (there is no need to have a live HDFS connection to change this settings).
![]()
There is no need to install any Java Virtual Machine (JVM) to access the HDFS drive: Anatella uses its own proprietary & optimized routines (without any Java) to access the HDFS drive.