Icon: ![]()
Function: writeDocTable
Property window:
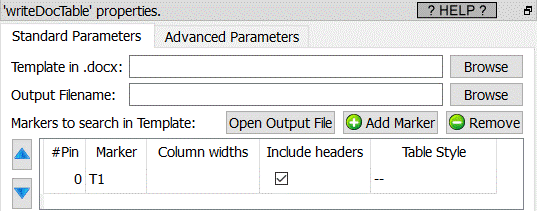
Short description:
Inject a data table inside a MS-Word template document with Table-Style support!
Long Description:
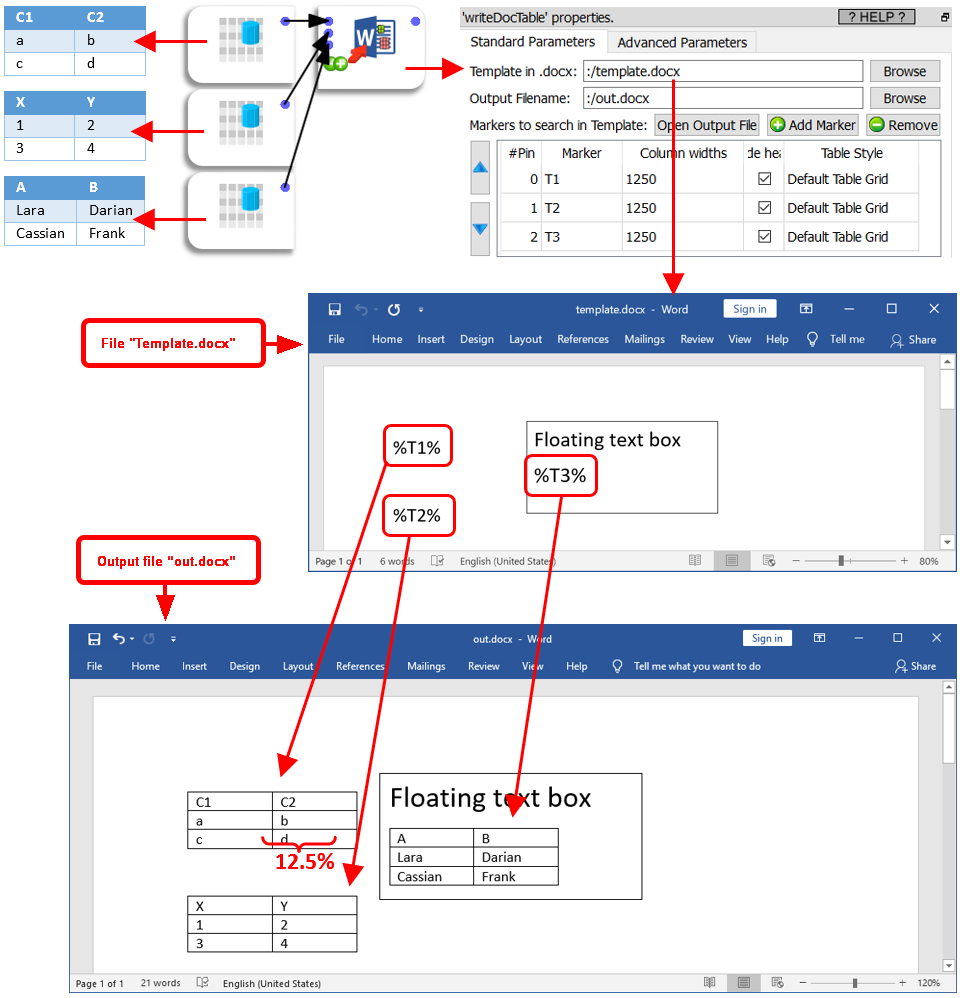
Anatella searches for the different markers and replaces them with the tables given in the input pins.
New versions of MS-Word are adding some invisible tags inside the .docx documents. These invisible tags might prevent the “marker substitution process” to work. Please refer to the section 5.27.20.2. for the procedure to get a “clean” template document (without all these invisible tags).
Here is an example:
The parameter “column width” has 3 operating modes:
•Operating mode 1: The “column width” parameter is empty: the width of the injected Table inside the MS-Word document is 100% of the available width.
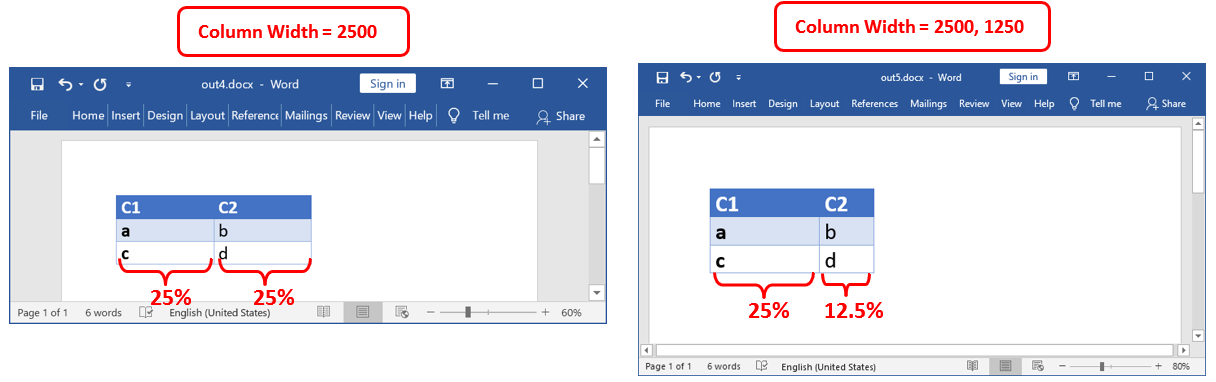
•Operating mode 2: you only give one number. This number defines the width of all of the columns inside the Table inside the MS-Word document.
•Operating mode 3: you give a list of comma-separated numbers. These numbers define the width of each of the columns inside the Table inside the MS-Word document.
The length-unit used inside the “column width” parameter is the “% multiplied by 100” (i.e. the “per-ten-thousands”). For example:
The “Table Style” parameter is a combo box that only works after you have defined the “Template” parameter. Once the “Template” parameter is defined, Anatella analyzes it and displays all the “Table Style” available inside the “Template” file: In the example below, the “template3.docx” document contains 3 “table styles”:
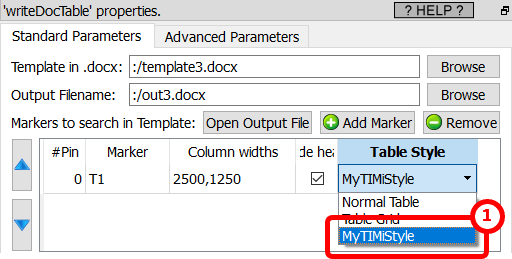
The “Normal Table” and “Table Grid” table-styles are (almost) always defined. The “template3.docx” document also contains one additional extra&custom table-style named “MyTIMiStyle”. ![]()
Let’s now see how we can define our own table styles! The steps are:
1.Create a 1x1 table (inside a floating text box):
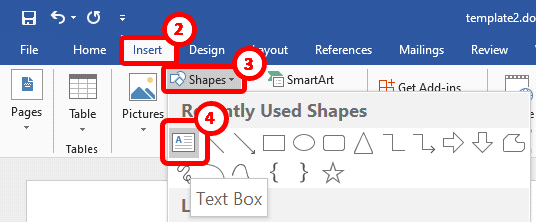
1.1.Insert a floating “text box” in the margin of the page (in this way you can hide it easily later).
Open the “Insert” panel, ![]() click on “Shapes”,
click on “Shapes”, ![]() click on the “Text box”
click on the “Text box” ![]() icon:
icon: ![]()
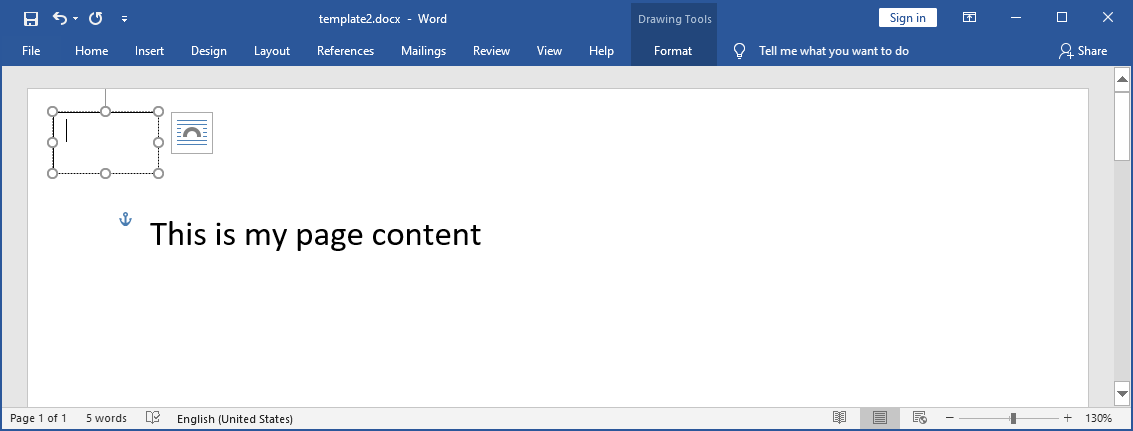
1.2.Draw your floating text box in the margin of the page:
1.3.Insert a 1x1 “table” inside your new floating text box.
Click inside your text box.
Open the “Insert” panel, ![]() click on “Table”,
click on “Table”, ![]() click on the cell that represent the “1x1” table:
click on the cell that represent the “1x1” table: ![]()

2.Define a new style for your new 1x1 table.
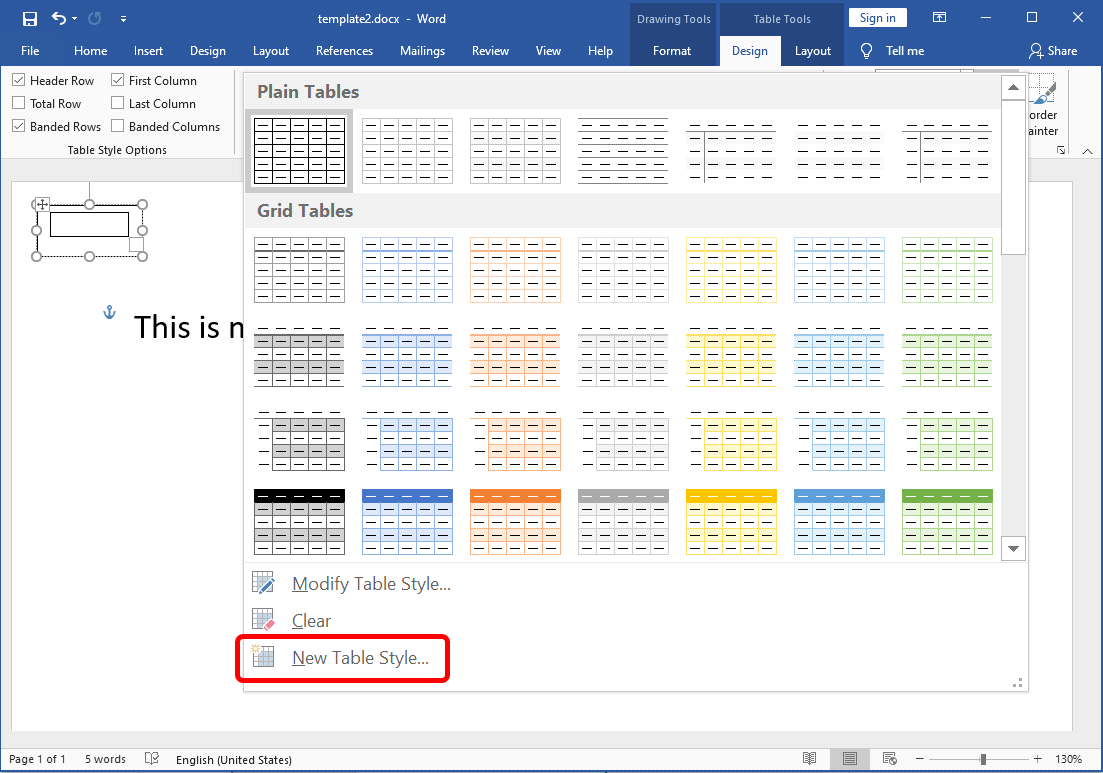
2.1.Open the “Table Tools/Design” panel, ![]() click on the “More”
click on the “More” ![]() button here:
button here: ![]()

2.2.Inside the drop-down-meu, select “New Table Style”:
2.3.Define a new Table Style: For example:
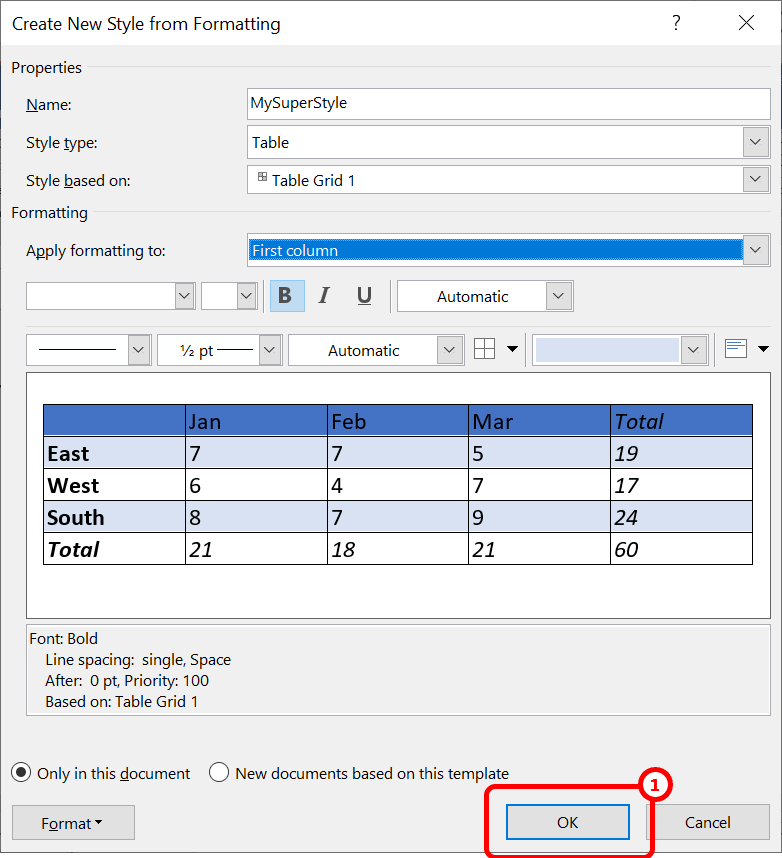
The above new Style is named “MySuperStyle”, it contains the following settings:
oHeader Row: with a “Dark Blue” blackground
oOdd banded Row: with a “Light Blue” blackground
oFirst column: font in Bold
Once finished, click the “OK” button: ![]()
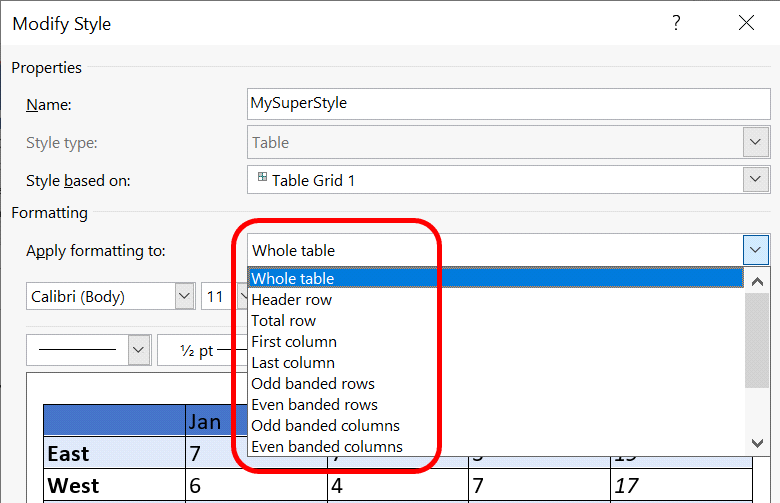
You can define many different styling options for:
oThe header row
oThe total (last) row
oThe First column
oThe Last Column
oOdd banded rows
oEven banded rows
oOdd banded columns
oEven banded columns
3. Hide the small 1x1 table (i.e. cover it with a white rectangle)
3.1. Open the “Insert” panel, ![]() click on “Shapes”,
click on “Shapes”, ![]() click on the “Rectangle”
click on the “Rectangle” ![]() icon:
icon: ![]()

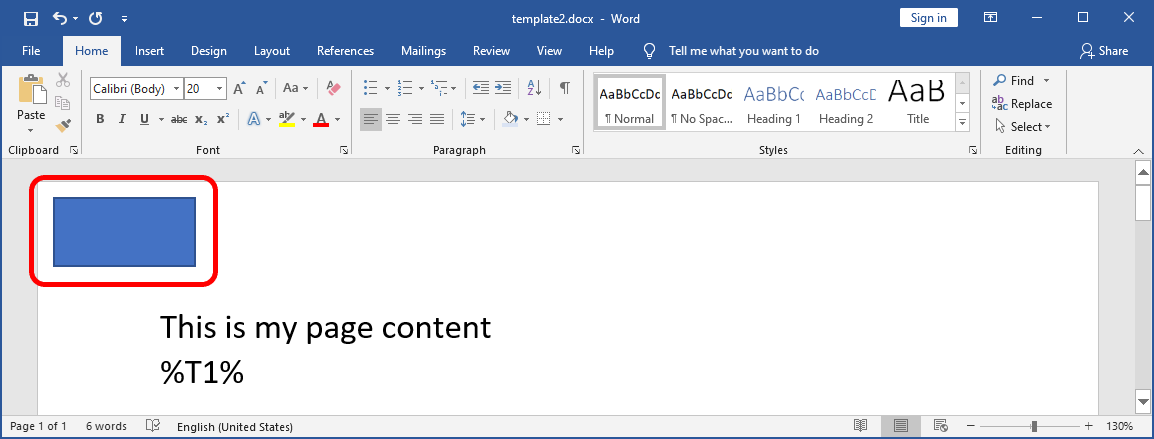
3.2. Draw your rectangle over the floating text box that contains your table:
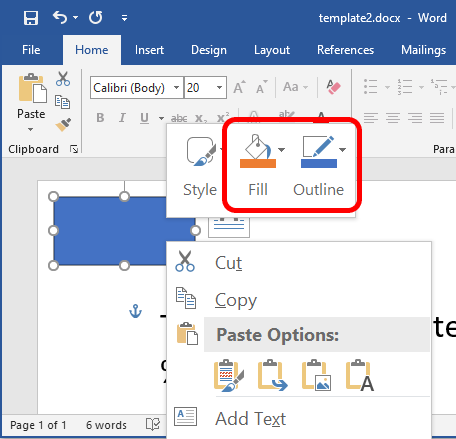
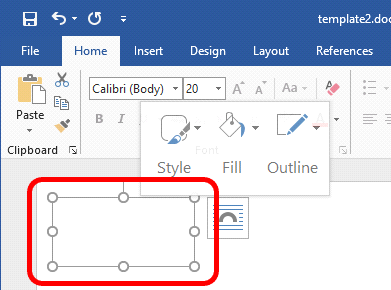
3.3. Change the background color and the outline color of your new rectangle to white: Right-click your new rectangle and select the white color for the “Fill” and “Outline” option:
At the end, you get something like this:
4. Save your .docx document: press [CTRL]+[S].
5. Let’s use our new style!
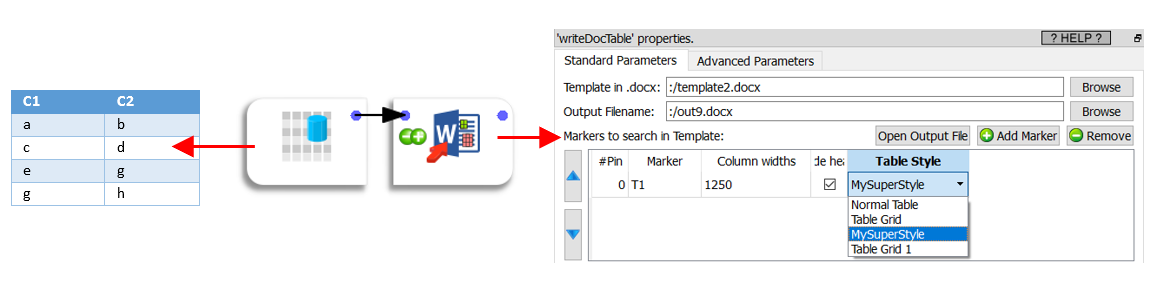
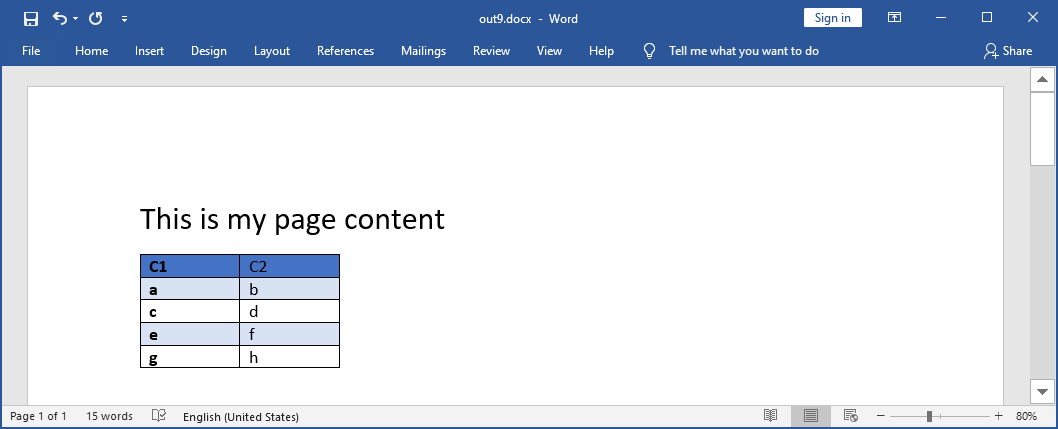
We obtain: