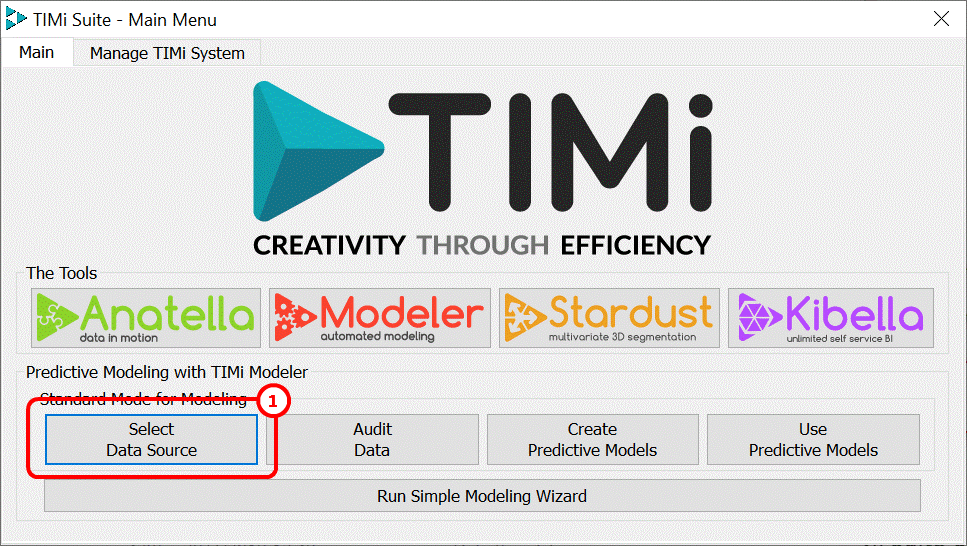
Click on the Select Data Source button of the TIMi main window: ![]()
The following window appears:
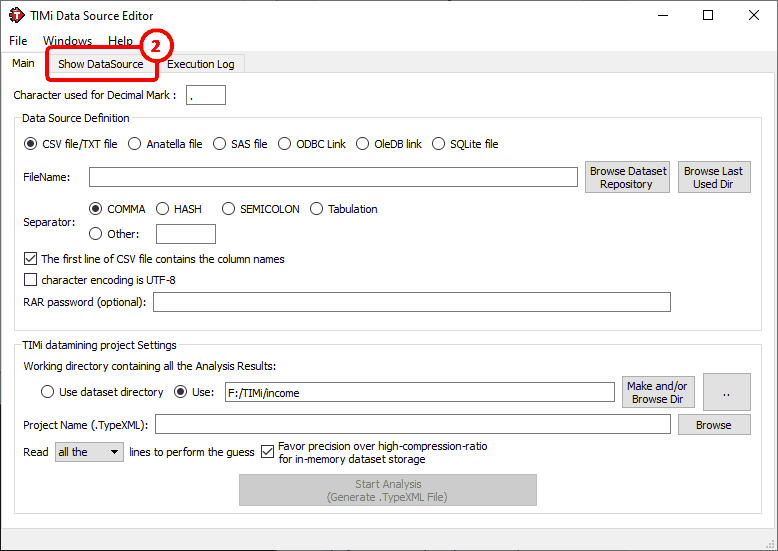
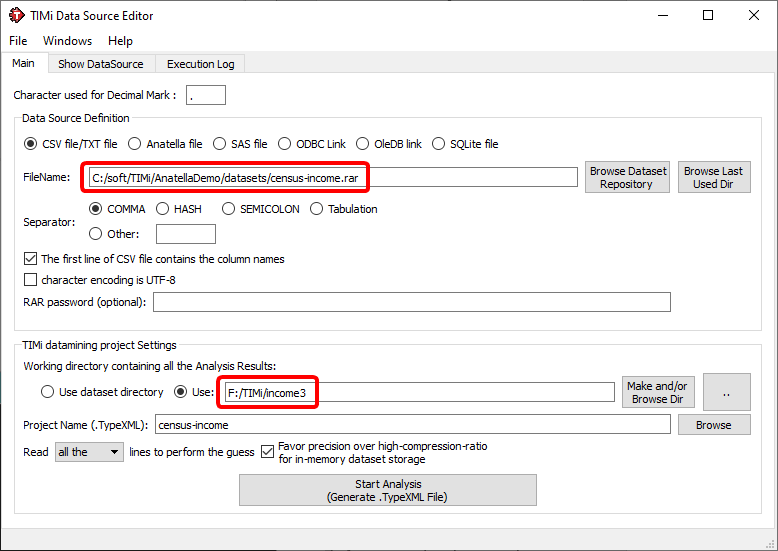
The first step of the analysis is obviously to open the dataset file on which we will work on. Using the DataSource editor, you can specify the location of the dataset that you want to analyze. The default storage is CSV/Text file (CSV=“Comma Separated Value” text file).
It is important to properly set the separator character when working with text file. It can be a comma “,”, a Hash “#”, a Semicolon “;”a TAB character, or any other which you may specify. When in doubt, click on “Show Datasource” ![]() and TIMi Modeler will display the first 100 lines.
and TIMi Modeler will display the first 100 lines.
Please also note the presence of the parameter named “character used for decimal mark”. The default setting is “.”. It means that a column containing “3,14” won’t be recognized as a “value” column but rather as a “nominal” column because of the comma. If you want that TIMi Modeler sees “3,14” as a number you must:
1.Change the parameter named “character used for decimal mark” to the value “,”.
2.In particular: This will NOT work:
Manually changing the type of the variable from “nominal” to “value” inside the “Type Var Editor” (see next section) will not work.
Alternatively, a better solution might be to use Anatella to replace the “,” comma character with a “.” dot character (using the ![]() ReplaceStrings action).
ReplaceStrings action).
|
Note about UNICODE:
Ideally, the character encoding of your text file is Unicode UTF-8. Unicode allows you to manipulate datasets containing any kind of characters: Cyrillic, Chinese, Greek, etc. If unicode is used, TIMi Modeler automatically produces unicode version of the reports in MSWord and MSExcel.
If the first 3 bytes of your text dataset are 0xEF,0xBB,0xBF (This is the Byte-Order-Mark for utf-8 encoded text file) then TIMi Modeler automatically switches to the Unicode mode. By default, Anatella always produces utf-8 unicode text files with a correct utf-8 BOM (Byte-Order-Mark) header (so that everything is automated and transparent for the end-user when using Anatella). |
Let us go back to the “census-income” example: Click on the ![]() button, go to the “Central Dataset Repository” directory, and select the “census-income.rar” file (see appendix A about compressed CSV files). See the illustration below:
button, go to the “Central Dataset Repository” directory, and select the “census-income.rar” file (see appendix A about compressed CSV files). See the illustration below:
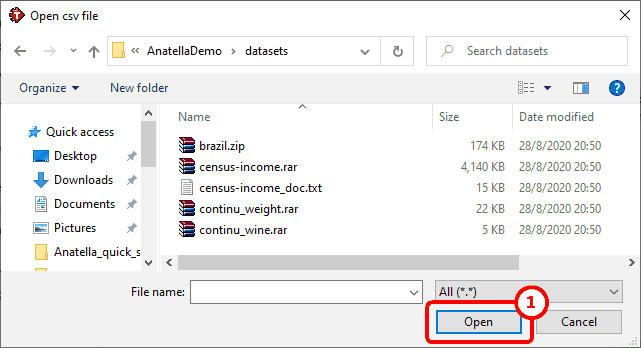
Once you click “Open” ![]() the connection is established.
the connection is established.
Note that the dataset can also be stored inside an Anatella .gel file, a .sqlite database file or inside any database accessible through ODBC or OLEDB technique.
The next step is to set the working directory that contains the analysis results. You can either choose to use the current directory (where the source file is located) or any directory of your choosing. Click on the ![]() button and create/select a working directory (here below, we selected the “f:\TIMi\income3” directory):
button and create/select a working directory (here below, we selected the “f:\TIMi\income3” directory):

You can also change the name of the project to something more meaningful, like “demoIncome” (the same “working directory” can contain several projects, if they have different names). You should now have something like this:
Click the ![]() button and wait for a few seconds (it can be a few minutes on very large dataset files). You should pretty soon see the following message:
button and wait for a few seconds (it can be a few minutes on very large dataset files). You should pretty soon see the following message:
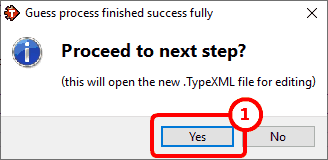
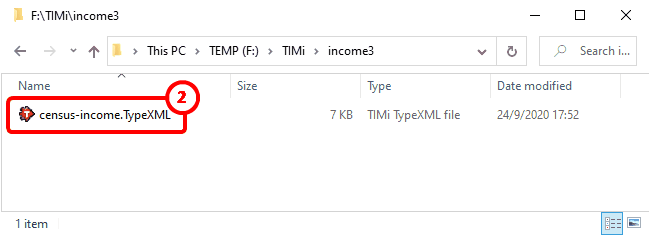
The first step of the analysis is now completed. TIMi Modeler performed a first analysis of your dataset in an attempt to guess what’s the type of each column of your dataset. Based on this guess, it produced a “.TypeXML” file that appeared inside the “working directory”.
Click the "Yes" button: ![]() The TIMi Modeler “.TypeXML file Editor” appears. Alternatively, you can also double-click the “demoIncome.TypeXML” file inside your working directory:
The TIMi Modeler “.TypeXML file Editor” appears. Alternatively, you can also double-click the “demoIncome.TypeXML” file inside your working directory: ![]()